Healthy Sourdough bread For you and your family!
Master Baking Sourdough Bread at Home
Unlock the secrets to baking the perfect sourdough bread with our easy-to-follow guide. Ideal for beginners and experienced bakers alike, impress your family and friends with your newfound skills in how to bake sourdough.
Grace Ng
11/19/20245 min read
The Ultimate Guide to Baking Perfect Sourdough Bread at Home
Sourdough bread is a culinary art that combines simple ingredients with patience and precision. Whether you're a novice baker or a seasoned pro, achieving the perfect loaf requires understanding the process and avoiding common pitfalls.
Here’s a comprehensive guide to help you bake sourdough bread that’s crispy, airy, and full of flavor.
What Makes Sourdough Unique?
Sourdough bread is leavened using a natural starter—a mixture of flour and water fermented by wild yeast and bacteria.
This process gives sourdough its distinct tangy flavor, chewy texture, and excellent shelf life. Unlike bread made with commercial yeast, sourdough is more digestible and often touted for its health benefits.
Step-by-Step Guide to Baking Sourdough Bread
1. Make or Obtain a Starter
The heart of sourdough is the starter. You can create your own by mixing equal parts of flour and water and letting it ferment over 5–7 days, feeding it daily.
Alternatively, borrow a portion from a fellow baker. Ensure your starter is active before baking—bubbly and doubling in size after each feeding.
2. Gather Your Ingredients
You’ll need just four ingredients for basic sourdough:
Flour: All-purpose, bread flour, or whole wheat.
Water: Filtered water to avoid chlorine.
Salt: Sea salt or kosher salt.
Starter: Your active sourdough starter.
3. Mix and Autolyse
Combine your flour and water first, then let the mixture rest for 30 minutes to an hour. This process, called autolyse, helps hydrate the flour and build gluten structure.
4. Add Starter and Salt
Mix in the starter and salt after the autolyse. Fold and stretch the dough to incorporate the ingredients instead of aggressively kneading.
5. Bulk Fermentation
Let the dough rest and ferment at room temperature for 4–6 hours, performing a series of “stretch and folds” every 30 minutes during the first two hours. This develops the dough's strength and structure.
6. Shape the Dough
Once fermented, shape your dough into a round or oval. Use a banneton (proofing basket) or a bowl lined with a floured cloth to support the shape.
7. Final Proofing
Proof your shaped dough in the fridge overnight or for 2–4 hours at room temperature. Cold proofing enhances flavor and makes the dough easier to handle.
8. Score and Bake
Preheat your oven to its highest setting with a Dutch oven or baking stone inside. Before baking, score the dough using a razor or sharp knife to allow it to expand.
Bake with steam (cover the Dutch oven or use a pan of water) for the first 20 minutes, then uncover and bake until golden brown.
Troubleshooting Common Issues
Dense Bread: Insufficient fermentation or weak starter.
Flat Loaf: Over-proofing or lack of shaping tension.
Burnt Crust: Oven temperature too high or baking too long without steam.
Common Issues In Sourdough Baking And How To Solve Them
Sourdough baking can be a rewarding experience, but it also comes with challenges, especially for beginners. Here are common issues sourdough bakers face and how to resolve them:
1. Dense or Heavy Bread
Cause:
Under-proofed dough.
Weak starter lacking active fermentation.
Improper gluten development.
Solution:
Ensure your starter is active and bubbly before use.
Allow sufficient bulk fermentation time, ideally in a warm environment (around 75°F–78°F / 23.8 - 25.5 C)
Perform proper stretch-and-fold techniques during bulk fermentation to strengthen the dough.
2. Bread Doesn’t Rise Well
Cause:
Over-proofing, where the dough ferments for too long and loses structure.
Starter is not strong enough.
Solution:
Keep an eye on proofing times; the dough should roughly double in size, but no more.
Regularly feed your starter and give it enough time to grow strong before baking.
3. Crust Too Hard or Thick
Cause:
Lack of steam during baking.
Baking temperature too high for too long.
Solution:
Use a Dutch oven to trap steam or place a tray of water in the oven during the first 20 minutes of baking.
Lower the oven temperature slightly after the initial bake.
4. Bread Has Large, Uneven Holes
Cause:
Insufficient degassing during shaping.
Over-hydrated dough that's difficult to handle.
Solution:
During shaping, gently degas the dough to even out air pockets without deflating it entirely.
Gradually reduce hydration if the dough is overly sticky, and work your way up as you gain confidence.
5. Flat or Spreading Loaf
Cause:
Weak gluten structure.
Lack of surface tension during shaping.
Solution:
Incorporate stretch-and-fold techniques during bulk fermentation.
Focus on creating a taut surface while shaping the dough.
6. Burnt Bottom Crust
Cause:
Overheating from direct contact with a baking stone or oven floor.
Solution:
Place a sheet of parchment paper or a baking tray beneath the loaf to buffer the heat.
Consider double-stacking baking trays if necessary.
7. Sour Flavor Too Intense
Cause:
Over-fermentation of the dough.
Starter has been fed irregularly.
Solution:
Shorten proofing times to reduce excessive acid buildup.
Feed your starter consistently to keep its flavor balanced.
8. Pale or Soft Crust
Cause:
Insufficient oven temperature or lack of baking time.
Insufficient steam during baking.
Solution:
Preheat your oven thoroughly. Bake at high heat (450°F or higher) for a crisp, golden crust.
Ensure sufficient steam in the initial bake phase by using a Dutch oven or a tray of water.
9. Sticky or Undercooked Inside
Cause:
Dough under-baked or over-hydrated.
Poor gluten development leading to uneven baking.
Solution:
Use a thermometer to ensure the bread’s internal temperature reaches 200°F–210°F (93.3 - 98.8 C) before removing it from the oven.
Develop the gluten properly through autolyse and stretch-and-fold techniques.
10. Uneven or Unpredictable Results
Cause:
Inconsistent measurements or environmental factors like temperature.
Solution:
Weigh your ingredients with a kitchen scale for precise measurements.
Track your environment (room temperature and humidity) and adjust fermentation times accordingly.
By identifying and addressing these common issues, you’ll improve your sourdough baking skills and produce consistently delicious loaves!
Tips for Perfect Sourdough
Keep Track of Temperature: Dough temperature affects fermentation. Aim for a "desired dough temperature" around 75°F–78°F (23.8 - 25.5 C)
Use a Scale: Measure ingredients by weight for accuracy.
Be Patient: Sourdough baking is a slow process, but the results are worth it.
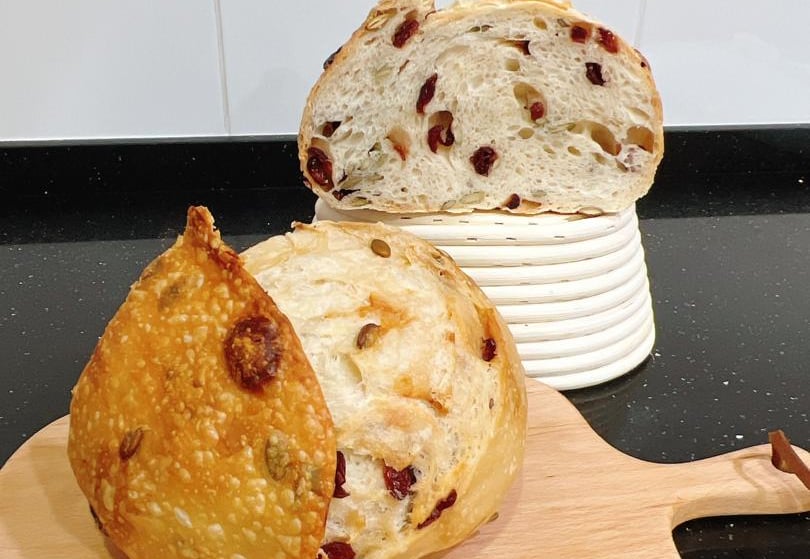
Experiment: Try adding seeds, herbs, or other flours to customize your bread.
Why Sourdough is Worth the Effort
Beyond its exceptional taste and texture, sourdough bread is an experience. The process teaches patience, precision, and an appreciation for tradition.
Plus, it’s a healthier alternative to many store-bought options, with its natural fermentation aiding digestion.
Start your sourdough journey today, and with practice, you’ll master the art of baking bread that’s both a feast for the palate and a labor of love. Happy baking!
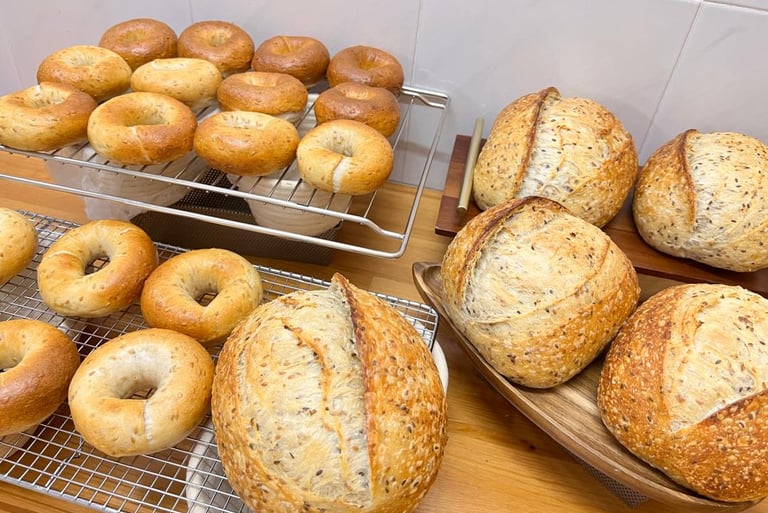
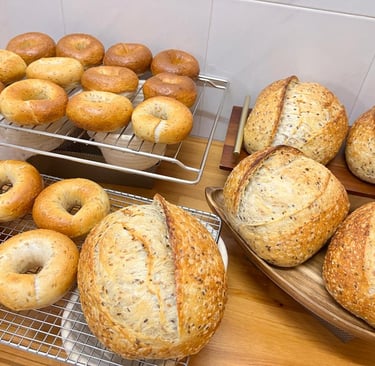
Premium Healthy Sourdough
Sourdough products delivered to your home
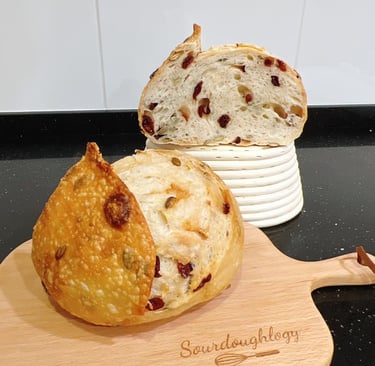
Sourdoughlogy
To Order Go To
Or
© 2024. Sourdoughlogy. All rights reserved.